How to Close Revenue Accounts in Closing Entries (Step by Step)

This blog is for you...
If you’re ready to master how to close revenue accounts and gain control over your books at the end of each period.
Or maybe you’re tired of going through confusing financial entries, wondering, “Am I getting this right?” and thinking there must be an easier way to reset your accounts.
Does that sound familiar? Then you’re in the right place.
I’ve helped businesses streamline their closing process for years, and I know exactly where things can get tricky.
Closing revenue accounts doesn’t have to be an overwhelming task, and with the right approach, you can go from dreading it to mastering it.
Here’s what you’ll gain from reading this guide:
🌟 I’ll break down exactly what closing entries are and why they’re so important.
🌟 Next, I’ll help you with the difference between temporary and permanent accounts, so you know exactly what needs closing.
🌟 You’ll get a step-by-step walkthrough on how to close revenue accounts with confidence.
🌟 I’ll share some real-world examples so you see how to apply these steps in any business.
🌟 Finally, I’ll show you how tools like QuickBooks and specialized solutions can make closing accounts easier than ever.
By the end, you’ll not only know how to close revenue accounts but will have the clarity and confidence to get it right every time.
Ready to take the guesswork out of closing entries? Let’s jump in!
What Are Closing Entries?
Before we even think about closing those revenue accounts, let's make sure we're on the same page about what “closing entries” actually mean.
Closing entries are special journal entries you make at the end of an accounting period.
Think of them as a way to wrap things up for the month or year.
Their purpose? To clear out temporary accounts like revenue and expenses that that track the firm's expense.
Why Do You Need to Close Entries?
Here’s why closing entries are so important: imagine trying to read this year’s numbers but last year’s data is still lingering around. It’d be a mess, right?
Not only would it clutter your books, but it’d make it hard to really see how you did this year alone.
Closing entries give you a clean slate so that every period starts fresh, making it much easier to analyse your financial results.
Now, you might be wondering, “Why do only some accounts need to be closed?” That’s a good question.
Here’s the deal: in accounting, we have temporary accounts and permanent accounts.
Temporary vs. Permanent Accounts: What’s the Difference?
Temporary Accounts:
These are your revenue, expense, and withdrawal accounts.
They’re only meant to track transactions for a specific period (monthly, yearly, etc.).
When that period ends, we close them out to zero so we can start fresh for the next period.
Permanent Accounts:
These are accounts like assets, liabilities, and equity. Unlike temporary accounts, they’re not reset; instead, they carry their balances from one period to the next.
For example, if you own equipment worth $10,000, it doesn’t reset at the end of the year. It just rolls over.
By closing out only the temporary accounts, we make sure our financial reports are accurate and focused.
That’s the beauty of closing entries – they help keep things organized so you know exactly how much you earned and spent during a specific time frame without the clutter of past data.
Now that we understand the big picture let’s talk specifics.
Why It’s Important to Close Revenue Accounts?
Revenue accounts track your income – the money coming in from selling products or services.
If you don’t close these records, your income from last period will mix in with the current period.
That’s like having last year's income cluttering up your view of this year’s success.
By closing revenue accounts, you’re drawing a line that says, “This is what I made last period, and now I’m starting fresh.”
It’s clear, simple, and keeps your books from looking like an overwhelming tangle of old and new transactions.
Alright, now that we’ve got a clear understanding of closing entries, why we need them, and how they keep our financials clean, we’re ready to move on to actually closing those revenue accounts.
Step-by-Step Guide on How to Close Revenue Accounts
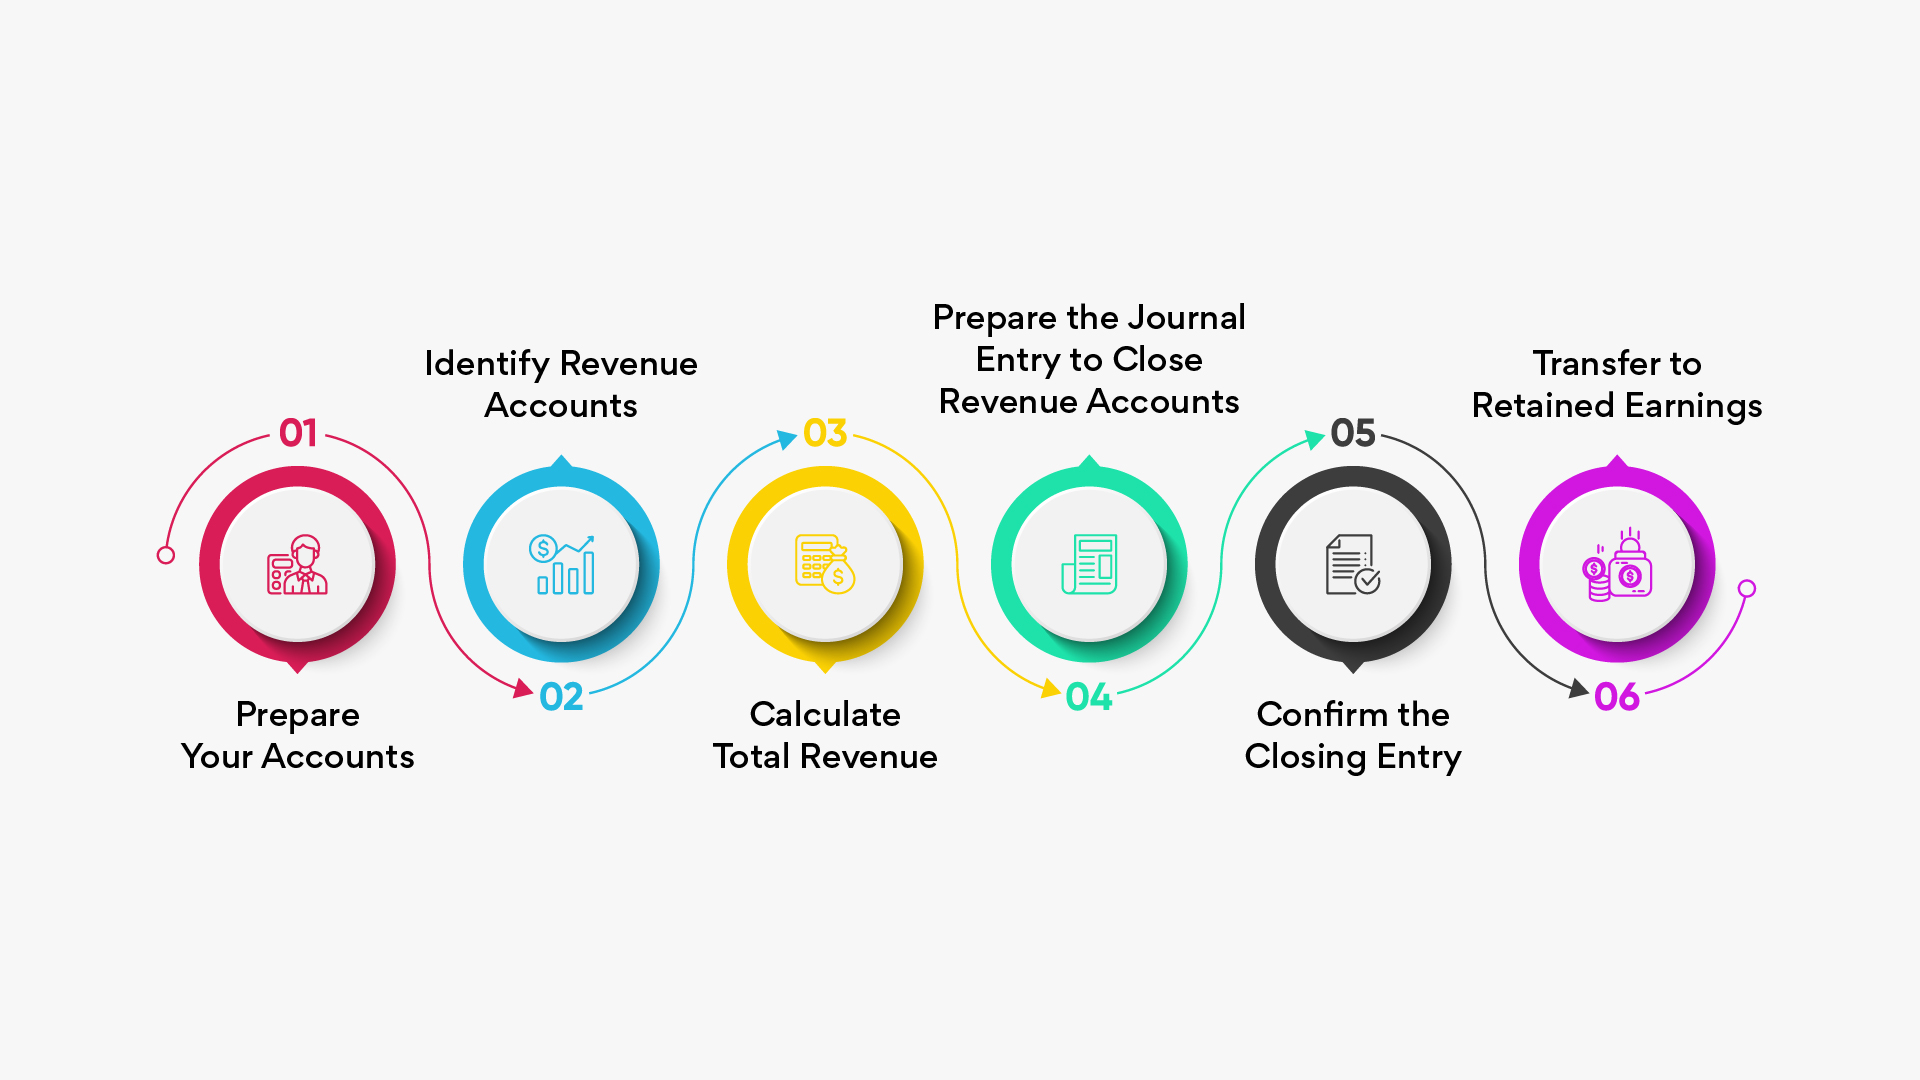
Here’s a step-by-step guide on how you can close revenue accounts:
- Prepare your accounts.
- Identify revenue accounts.
- Calculate total revenue.
- Prepare the journal entry to close revenue accounts.
Step 1: Prepare Your Accounts
First things first, before closing your revenue accounts, ensure that all transactions for the period have been recorded.
This means checking that all sales, returns, and adjustments are documented accurately. Taking this extra time to prepare will set you up for success.
Step 2: Identify Revenue Accounts
Next, make a list of all the revenue accounts you need to close. Common examples include:
- Sales Revenue
- Service Income
- Interest Income
Knowing which transactions to close is essential as we move forward.
Step 3: Calculate Total Revenue
Now, let’s calculate the total income for the period. For instance, if your Sales Revenue account shows $100,000, that’s the amount you will close.
Step 4: Prepare the Journal Entry to Close Revenue Accounts
Once you have your total income figured out, it’s time to make the journal entry to close those records.
Here’s what you’ll do:
- Debit each revenue account to bring its balance to zero.
- Credit the Income Summary account for the total income amount.
Example Journal Entry: If your total income is $100,000, your entry will look like this:
Step 5: Confirm the Closing Entry
After recording the journal entry, it’s important to confirm that the revenue account balances are now zero.
You can do this by checking your general ledger. This step ensures you haven’t missed anything.
Step 6: Transfer to Retained Earnings
Finally, once all revenue accounts are closed to the Income Summary, the next logical step is to transfer the net income to Retained Earnings.
For instance, if your total net income is $40,000, you will:
- Debit: Income Summary $40,000
- Credit: Retained Earnings $40,000
This step helps maintain accurate records on your balance sheet.
Now that we’ve laid down the steps, let’s dive into some real-world scenarios so you can see exactly how these principles apply.
Real-World Examples
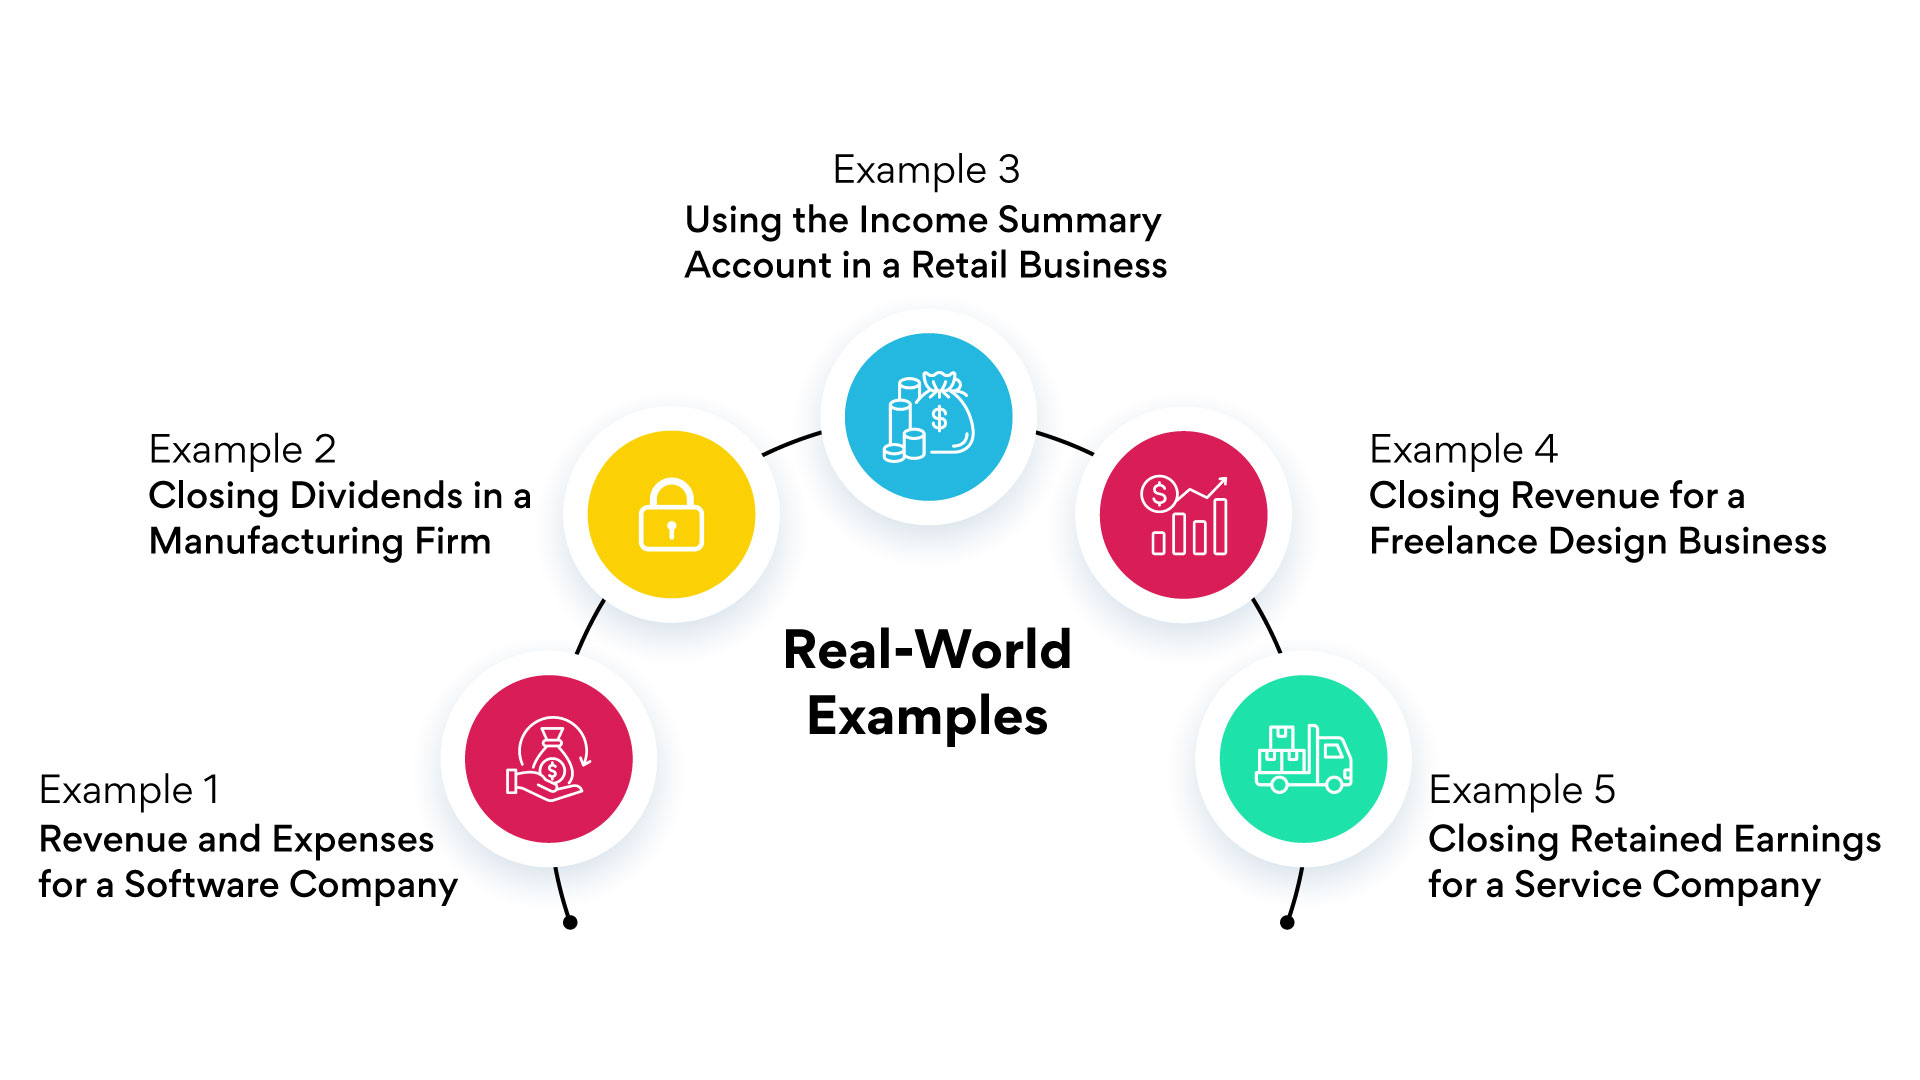
Picture yourself in these situations – whether you're running a software company, a manufacturing firm, a retail business, a freelance design studio, or a service company.
Each example will show you how to handle the closing process and, ultimately, make your transactions cleaner and easier to interpret for next year.
Example 1: Revenue and Expenses for a Software Company
Imagine you’re running a software company. By the year-end:
- Revenue: You’ve earned $100,000.
- Expenses: You’ve incurred $60,000.
To close these accounts:
- Step 1: Debit the Revenue account for $100,000.
- Step 2: Credit the Income Summary for $100,000.
- Step 3: Debit the Income Summary for $60,000.
- Step 4: Credit the Expense Transactions for $60,000.
By closing both income and expenses:
- You reset these transactions to zero, ensuring next year’s sales and expenses are tracked separately.
- It keeps your financial statements clean, making it easier to see how your business performs year by year.
Example 2: Closing Dividends in a Manufacturing Firm
If you manage a manufacturing company that pays dividends:
- Dividends Paid: $10,000.
To close the Dividends account:
- Step 1: Debit Retained Earnings for $10,000.
- Step 2: Credit Dividends for $10,000.
This action:
- Clarifies Profit Distribution: Shows how much profit was distributed to shareholders versus what was retained.
- Keeps Retained Earnings Accurate: Helps you track profits reinvested in the company.
Example 3: Using the Income Summary Account in a Retail Business
In a retail business, you use the Income Summary as a temporary account:
- Step 1: Transfer all revenue to the Income Summary.
- Step 2: Transfer all expenses to the Income Summary.
- Step 3: The remaining balance (net income) is then moved to Retained Earnings.
For instance:
To close these:
- Step 1: Debit the Income Summary for $40,000.
- Step 2: Credit Retained Earnings for $40,000.
This process:
- Keeps Financial Records Clean: Transfers income properly, preparing your accounts for the next financial period.
- Shows Growth: Updates retained earnings to reflect how much the business has earned and saved.
Example 4: Closing Revenue for a Freelance Design Business
If you’re a freelance designer:
- Revenue Earned: $50,000 for the year.
To close your Revenue account:
- Step 1: Debit the Revenue account for $50,000.
- Step 2: Credit the Income Summary for $50,000.
This means:
- Reset to Zero: Your revenue account is now ready for a fresh start in the new year.
- Track New Projects Easily: Helps you clearly track next year’s earnings without mixing them up with this year’s income.
Example 5: Closing Retained Earnings for a Service Company
For a service company:
- Net Income: $15,000 at the end of the year.
To transfer this to Retained Earnings:
- Step 1: Debit the Income Summary for $15,000.
- Step 2: Credit Retained Earnings for $15,000.
These examples break down the mechanics of closing entries, step by step, across different types of businesses.
Each method helps ensure that your financial records remain clear, making it easier to track growth, expenses, and profitability as you move forward.
Are you Struggling with Accurate Closings? Here’s How to Make It Easier
When it’s time to close revenue accounts, accuracy and efficiency are essential.
Closing entries aren’t just about organizing numbers—they’re about keeping your financial records clear and ready for the next period.
But if you’re managing a growing volume of transactions, even experienced accountants know the closing process can become time-consuming and prone to errors.
Now, you might be asking, “Why consider additional tools if QuickBooks is already doing the work?”
QuickBooks handles the basics well, but what if you need more precision?
As your business grows, managing closing entries manually, even with QuickBooks, can still leave room for minor errors and missed details.
That’s where an advanced solution steps in to help.
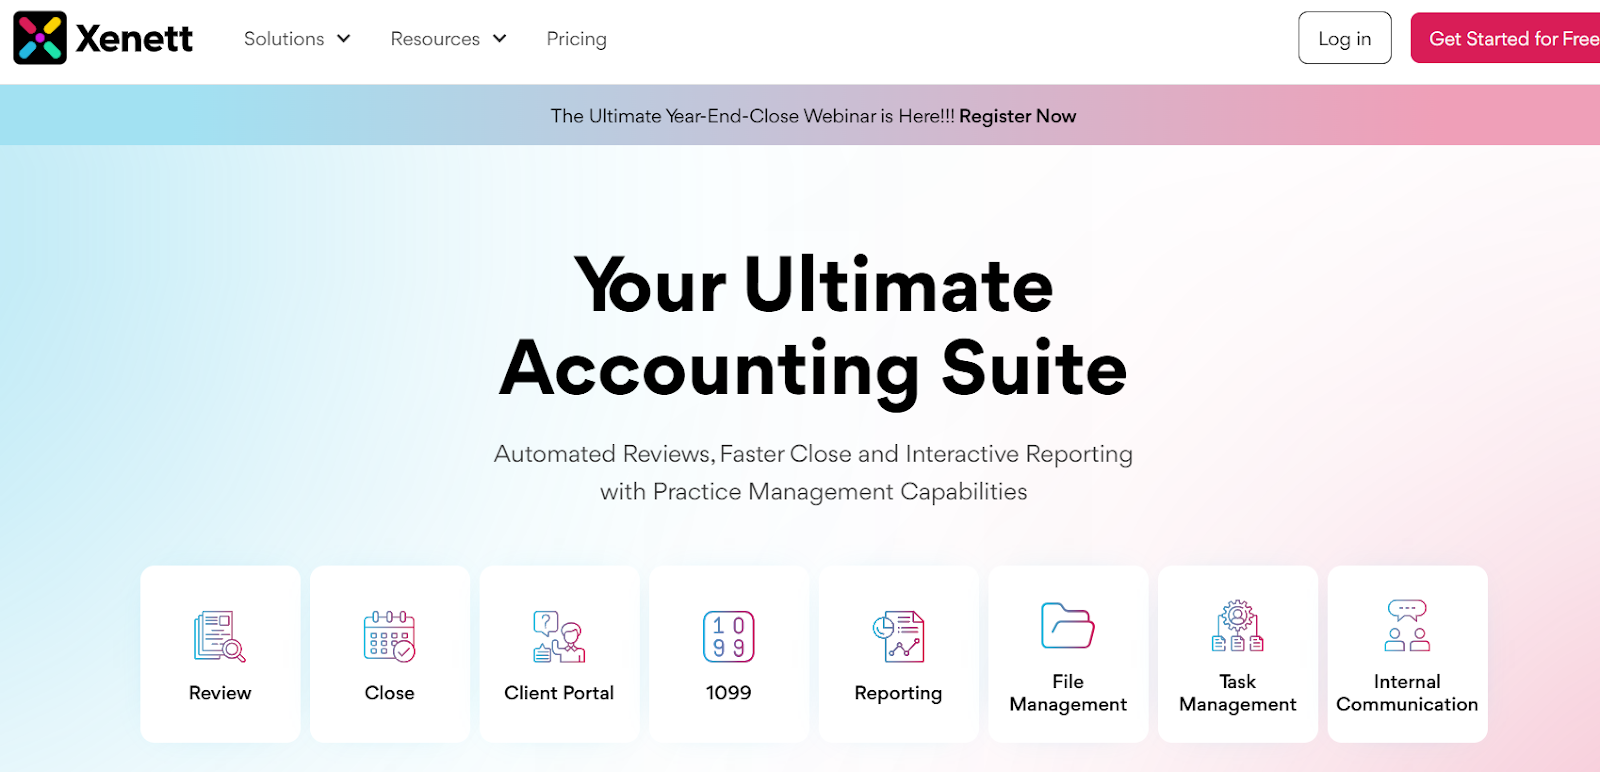
Do You Really Need More Than Just QuickBooks? Here’s Why It Makes a Difference:
An automated review tool becomes more than just another tool; it’s like an intelligent assistant that manages the tedious parts of closing.
By integrating a specialized tool with QuickBooks, you avoid manually sifting through transactions—the tool does the heavy lifting for you.
Consider the Benefits of Adding an Advanced Review Tool:
- Automated Review:
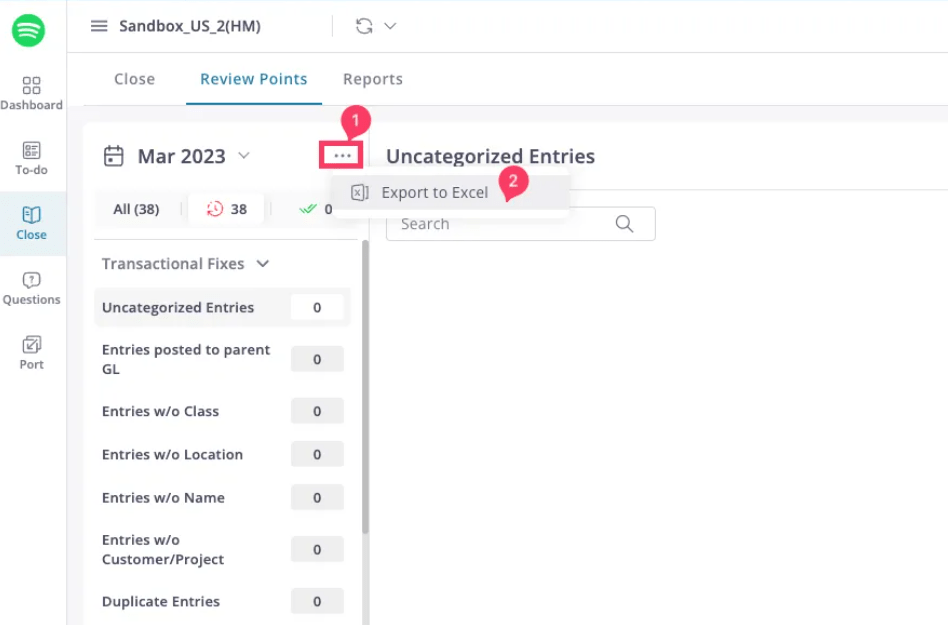
It automatically scans entries, flagging any inconsistencies or missing items that might disrupt your closing process.
So, you don’t have to double-check everything yourself.
- Error Detection:

Think of it as a second set of eyes, catching overlooked errors you may miss. Ever wondered if small errors could skew your reports?
This tool is here to catch them before they escalate.
- Efficient Collaboration:
When multiple people are involved in the closing process, this tool keeps everyone aligned with task and file management features. It’s your central hub, ensuring nothing slips through the cracks.
- Time Savings:
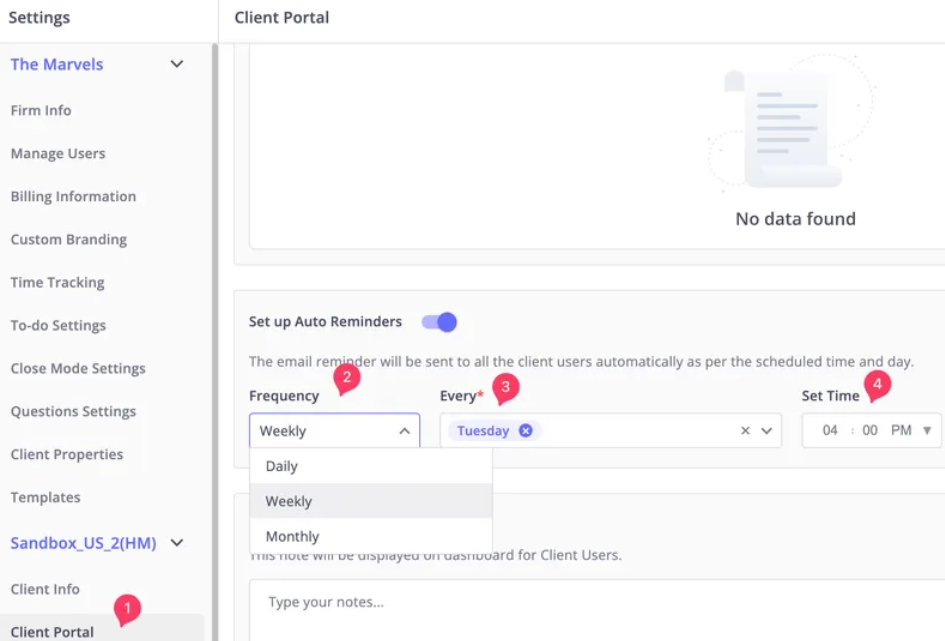
Instead of spending hours on repetitive checks, this tool handles the details, freeing up your time to focus on high-value tasks.
Is This the Right Solution for You?
If your goal is to achieve smoother, faster, and more accurate closing entries, integrating an advanced tool with QuickBooks could be the next step.
Conclusion
Closing revenue accounts may sound routine, but it’s a powerful way to reset your books and see your business with fresh eyes.
By wrapping up temporary accounts each period, you’re not just tidying up—you’re setting your business up for accurate insights and smarter decisions.
In this guide, we walked through everything you need to know about closing entries, from the “why” to the “how.”
Now, you have the tools to make this process straightforward and effective, even when juggling complex transactions.
But here’s where you can really level up: QuickBooks covers the basics, but adding a tool like Xenett makes closing entries faster, smarter, and nearly effortless.
With Xenett, you can automate reviews, catch errors early, and ensure your closing entries are accurate every time.
If you’re ready to simplify your closing process and gain more control over your financials, take a look at what Xenett has to offer at xenett.com.
.svg)


