How to add accountants to quickbooks online?
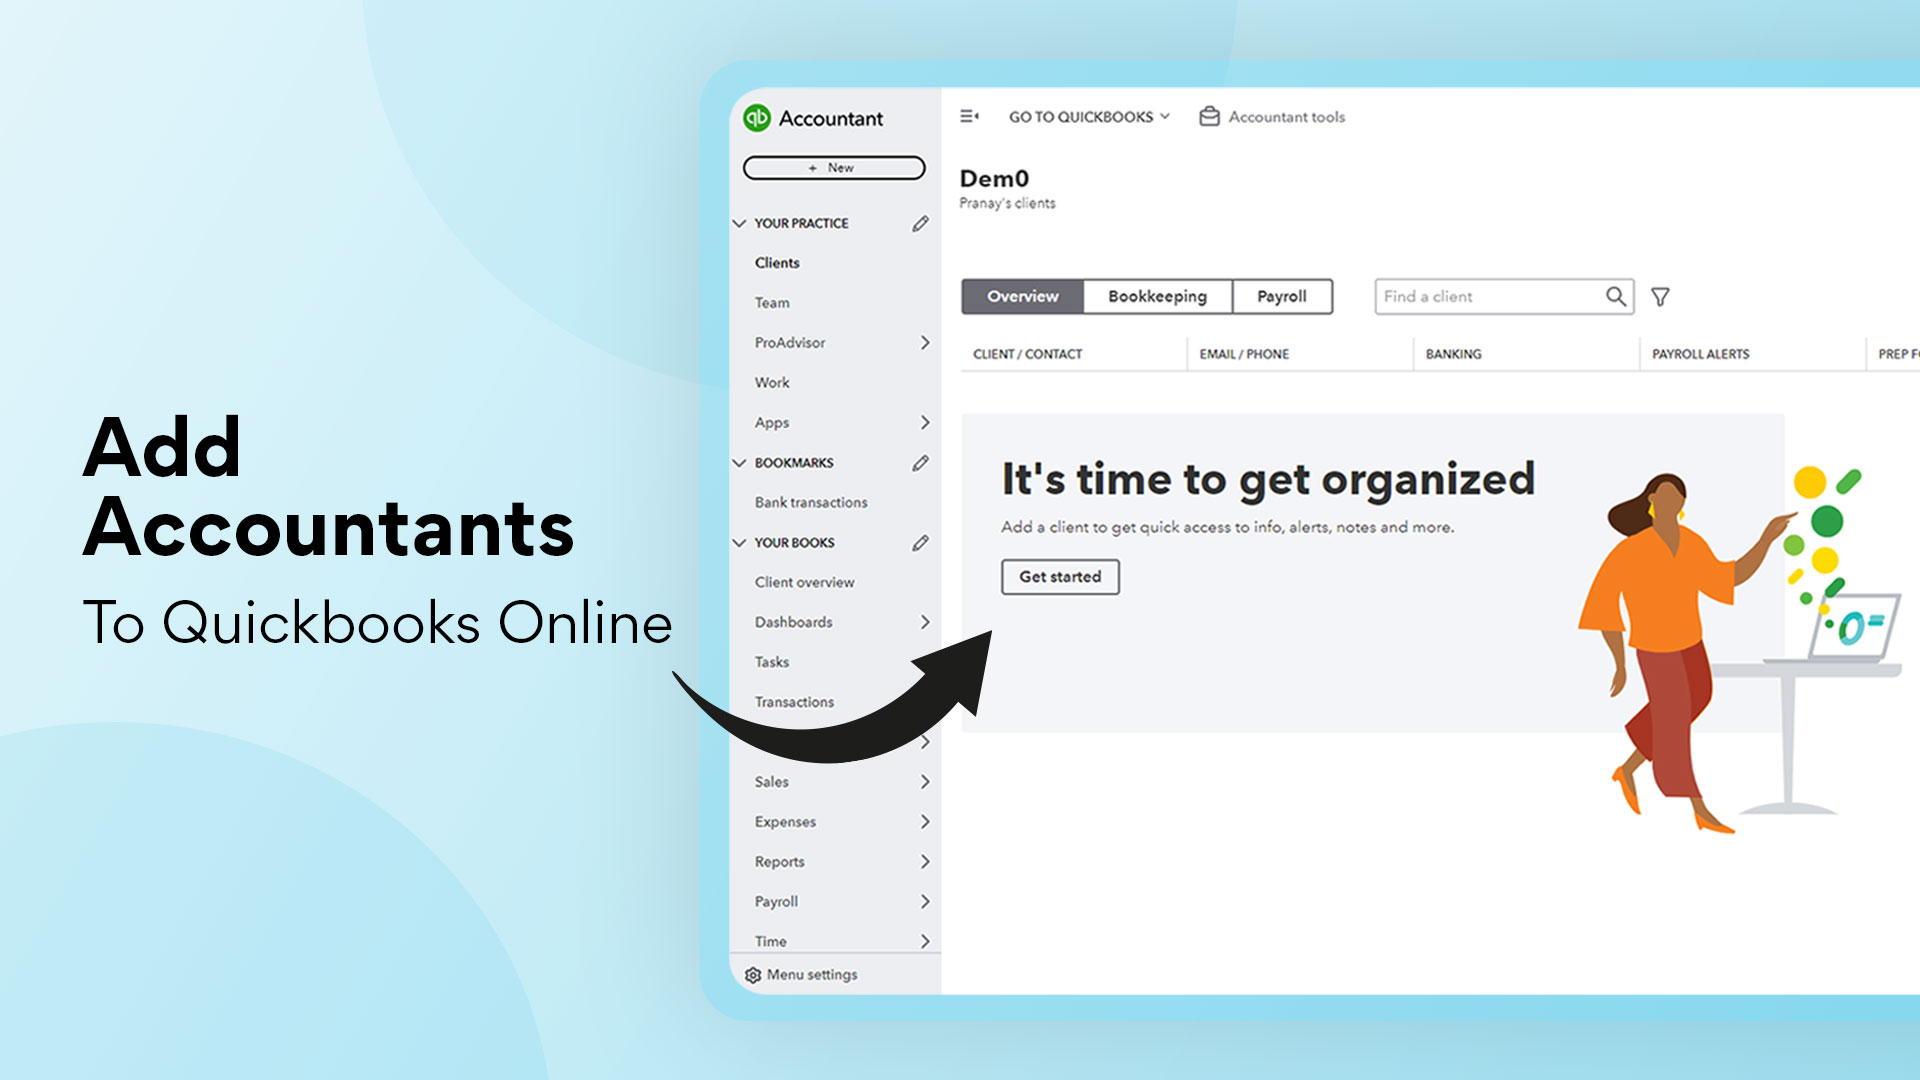
This guide is for you if…
You’ve been thinking about getting an accountant to help manage your business finances but aren’t sure how to add them to QuickBooks Online.
OR
You’re already using QuickBooks Online and want to ensure your accountant has the right access and tools to keep your books in perfect order.
Managing your business’s money well is crucial, and having an accountant can make a world of difference. They help check your financial records, fix mistakes, and handle any issues that arise, keeping your business running smoothly.
Don’t worry, I got you!
In this guide, we’ll cover everything you need to know about adding an accountant to QuickBooks Online and making the most of their expertise.
Here’s a quick summary of what we’ll cover:
➡️ Why having an accountant is essential for your business
➡️ What you need before adding an accountant to QuickBooks Online
➡️ A step-by-step guide to adding your accountant
➡️ How to integrate Xenett for enhanced financial management
➡️ Best practices and tips for smooth accounting
➡️ Common problems and how to solve them
P.S. This isn't just a how-to guide; it’s based on practical insights to help you and your accountant work better together.
Ready to make managing your accounting easier? Grab your coffee, and let’s get started!
All about an Accountant
Managing your business's money well is very important.
An accountant helps you by checking your financial records, fixing any mistakes, and working on any problems.
This keeps your business running smoothly. QuickBooks Online makes it easy to share your financial data with your accountant.
They can then use special tools to do things like fix reconciliations (matching your records with your bank statement), change transaction categories, and get ready for tax season.
Using a tool like Xenett can make this process even easier, giving you and your accountant extra features and insights.
Understanding the Role of an Accountant in QuickBooks Online

When you add an accountant to QuickBooks Online, they can access your financial data and have some special permissions, such as:
- Undoing reconciliations.
- Changing the category of transactions.
- Writing off invoices (marking them as paid or not collectible).
- Using special tools for preparing taxes.
One important thing to remember is that regular account users do not count towards your QuickBooks Online user limit, unless you make them the main admin.
What Do You Need Before Adding an Accountant?
Before you can add an accountant to your QuickBooks Online account, there are a couple of things you need to have ready.
Let's go through them together:
- Primary Admin Access: You need to have the main admin access to your QuickBooks Online account. This means you are the main person in charge of the account and have full control over it.
- Accountant's Email Address: You need to know the email address of the accountant you want to add. This is important because you will send them an invitation through QuickBooks Online to join your account.
Once you have these two things, you are ready to add your accountant.
A Step-by-Step Guide to Adding an Accountant
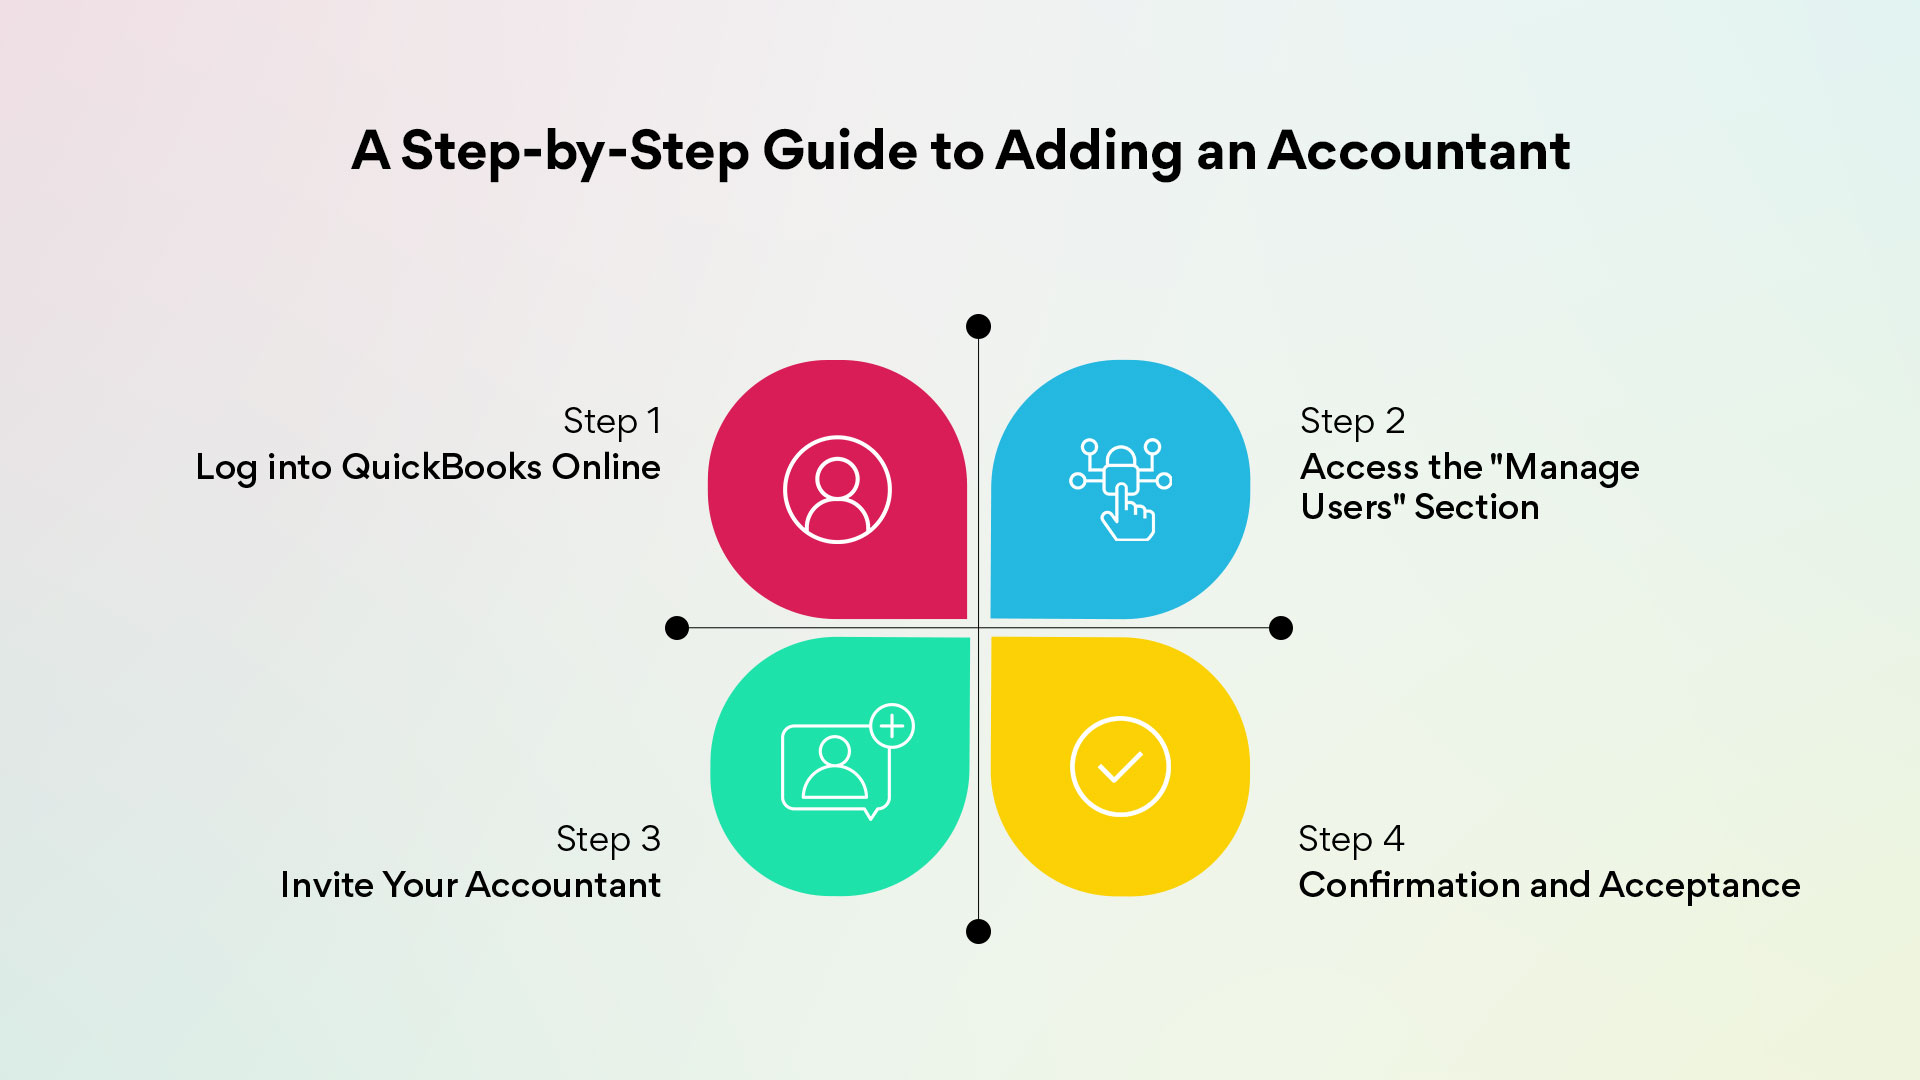

Let’s walk through how to add an accountant to your QuickBooks Online account together.
Step 1: Log into QuickBooks Online
First, go to the QuickBooks Online login page. Enter your username and password to log in.
Step 2: Access the "Manage Users" Section
Once you're logged in, look for the gear icon (⚙) on your dashboard. Click on it to go to the settings. From the dropdown menu, select “Manage users.”
Step 3: Invite Your Accountant
Now, find the "Accountants" tab.
- If this is the first time you’re inviting an accountant, just enter their email address and click “Invite.” Follow any prompts to verify your account.
- If you’re inviting another accountant, click “Invite,” enter their name and email address, then click “Save.”
Step 4: Confirmation and Acceptance
Your accountant will get an email inviting them to join your QuickBooks Online account.
They need to open the email and follow the link to accept the invitation. Once they do this, you will see the status on the Manage Users page change from “Invited” to “Active.”
If your accountant already uses QuickBooks Online Accountant, they will get a link to access your company directly.
If they don’t have it yet, they will need to sign up for QuickBooks Online Accountant.
It’s free and gives them all the tools they need to work with your QuickBooks Online account.
Integrating Xenett for Enhanced Financial Management

Let’s talk about how using Xenett can make managing your finances even easier.
Xenett works with QuickBooks Online to give you extra tools and insights, making your financial management more complete.
Benefits of Using Xenett with QuickBooks Online:
- Advanced Reporting and Analytics: Xenett offers detailed reports and analytics. This means you can get a deeper understanding of your finances.
- Automated Transaction Categorization: Xenett can automatically sort your transactions into the right categories. This saves you time and reduces mistakes.
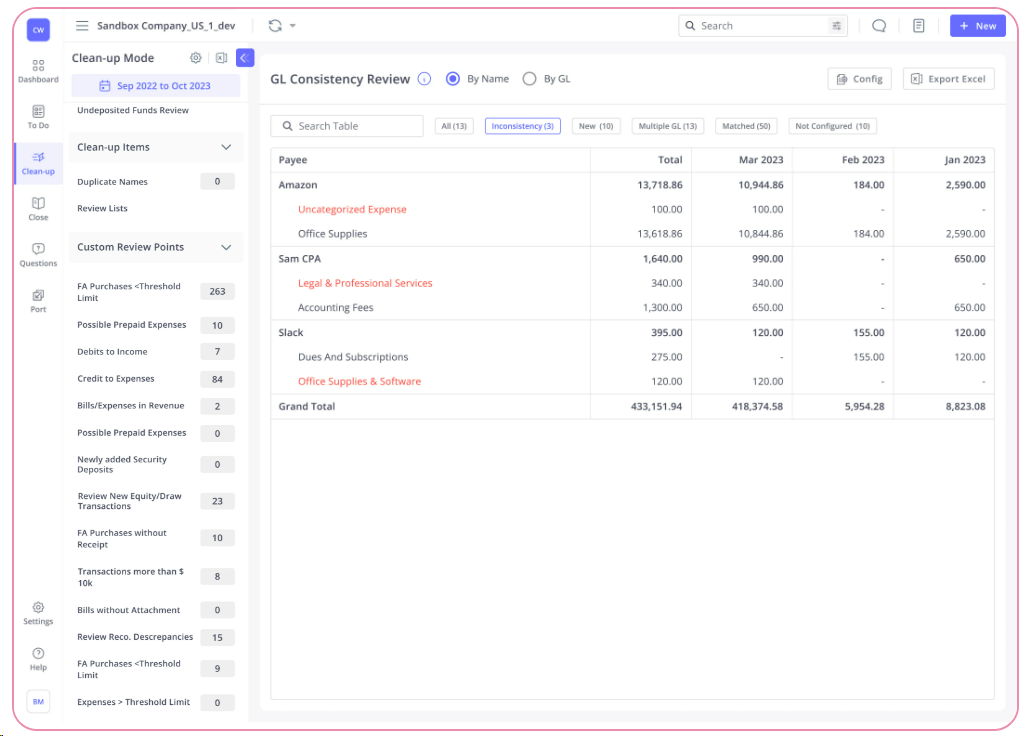
- Collaboration Tools: Xenett has features that make it easier for you and your accountant to communicate and work together.
- Real-Time Financial Dashboards: With Xenett, you get live updates on your business performance. This helps you keep an eye on how your business is doing at any moment.

Transactions by vendors on single screen
How to Integrate Xenett with QuickBooks Online?
- Sign Up for a Xenett Account: First, you need to create an account with Xenett.
- Connect Your QuickBooks Online Account: After you sign up, link your QuickBooks Online account to Xenett.
- Invite Your Accountant: Once connected, invite your accountant to join Xenett. This way, they can access the same financial data and tools.
- Use Xenett’s Features: Start using Xenett’s features to make managing your finances easier and to improve how you and your accountant work together.
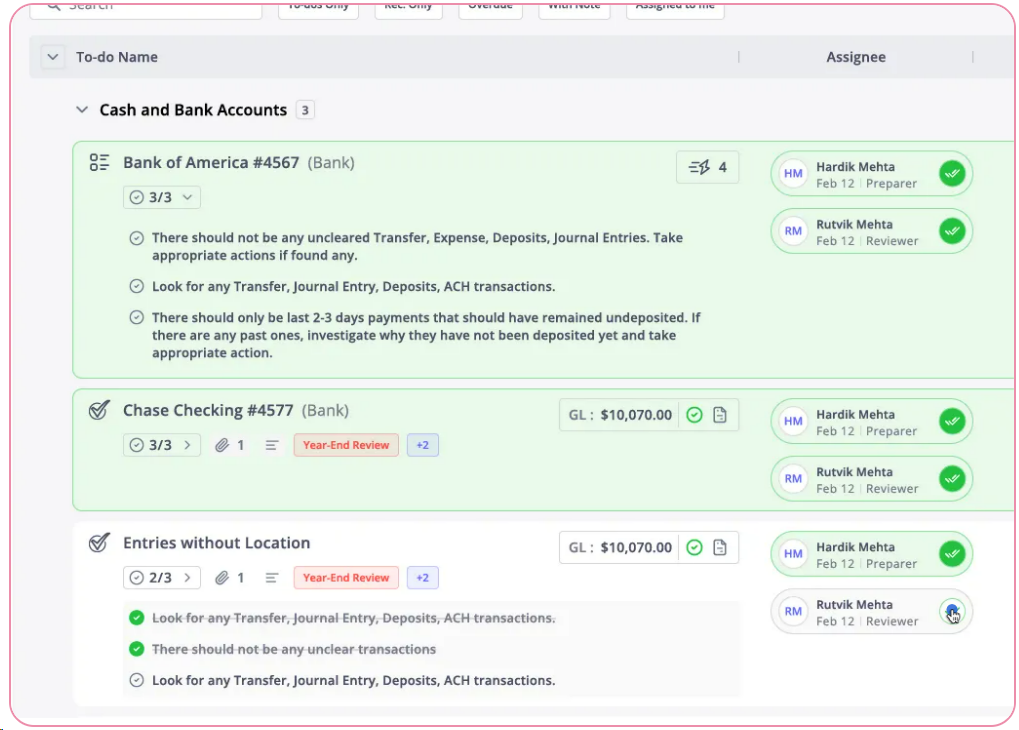
If you have any questions about setting up Xenett or need help with the integration, just let me know!
How to manage your accountant’s access to your QuickBooks Online account?
Let’s talk about how you can manage and control your accountant's access to your QuickBooks Online account. I’ll walk you through it step by step.
Viewing and Managing Access
To check and manage your accountant’s access, follow these steps:
- Go to the “Manage Users” Section:some text
- Sign in to your QuickBooks Online account.
- Click on the gear icon (⚙) to go to Settings.
- Select “Manage users” from the dropdown menu.
- Revoking Access:some text
- In the “Accountants” tab, find the accountant’s name.
- Click on the “Delete” option next to their name to remove their access.
Removing an Accountant
If you don’t want an accountant to have access anymore, you can remove them easily:
- Sign In as Primary Admin:some text
- Make sure you are logged in as the main admin of the account.
- Go to Manage Users:some text
- Click on the gear icon (⚙) and select “Manage users.”
- Select the Accountants Tab:some text
- Find the tab labeled “Accountants.”
- Delete the Accountant:some text
- Look for the accountant you want to remove.
- In the Action column, click “Delete.”
- Confirm by clicking “Delete” again.
Some of the Best Practices and Tips for a smooth accounting
Here are some tips to make sure everything runs smoothly with your accountant:
- Communicate Regularly:some text
- Talk to your accountant often to keep everything up-to-date.
- Schedule Reviews:some text
- Plan regular reviews of your financial data.
- Inform About Changes:some text
- Let your accountant know about any major financial decisions or changes in your business.
- Use Collaboration Tools:some text
- Use Xenett’s tools to improve communication and make working together easier.
Now that we've covered some best practices and tips for smooth accounting, let's talk about some common problems you might encounter and how to solve them.
Some common problems with accounting
Sometimes, things don’t go as planned. Here are some common problems and solutions:
- Invitation Email Not Received:some text
- Ask your accountant to check their spam or junk folder.
- Login Issues:some text
- Make sure they are using the correct email address and password.
- Further Assistance:some text
- If you need more help, contact QuickBooks support for assistance.
Finally!
Thanks for sticking with me till the end!
We’ve covered a lot of ground today, so here’s a quick recap:
➡️ You now know why having an accountant is essential for managing your business’s finances and how they can help keep everything running smoothly.
➡️ I’ve walked you through the prerequisites for adding an accountant to QuickBooks Online, ensuring you’re fully prepared.
➡️ You’ve learned the step-by-step process to add your accountant to QuickBooks Online, making the task simple and straightforward.
➡️ We’ve discussed how integrating Xenett with QuickBooks Online can enhance your financial management with advanced features and better collaboration tools.
➡️ I’ve shared some best practices and tips to keep your accounting process smooth and efficient.
➡️ Lastly, we addressed common problems you might encounter and provided solutions to keep everything on track.
Now you’re ready to add an accountant to your QuickBooks Online account and make the most of their expertise.
This will help you manage your finances more effectively and ensure your business thrives.
Remember, having the right tools and practices in place is key to successful financial management.
So, go ahead and apply what you’ve learned today to take your business to the next level.
If you have any questions or need further assistance, don’t hesitate to reach out.
And if you’re looking for a way to make managing your finances even easier, consider trying Xenett.
With its advanced features and real-time insights, Xenett can help you and your accountant work more efficiently.
Sign up for Xenett today and see how it can transform your financial management!
.svg)


